

Outdoor Lighting How to Install: Low-Voltage System Guide for Beginners
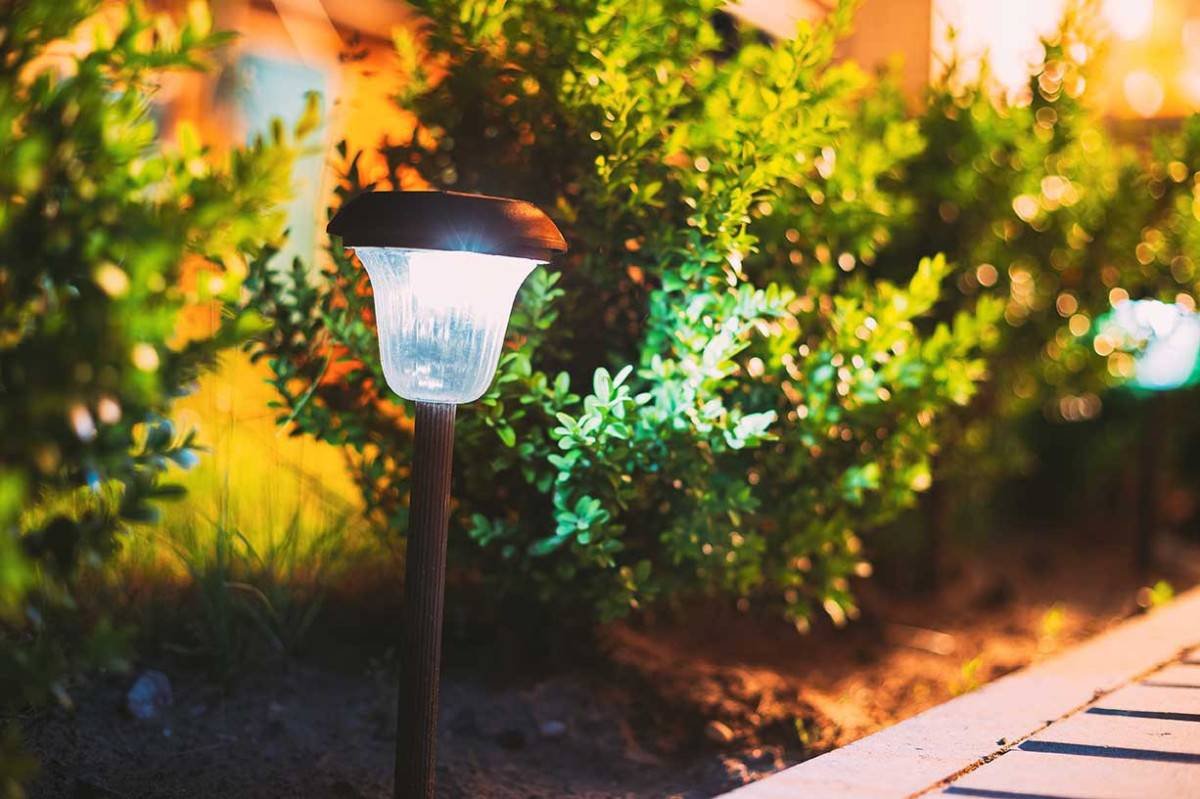 The front walkway is dark, the backyard has no light for evening gatherings, and you have been meaning to add outdoor lighting for two summers. Every time you look at the options at the home center, you get confused by transformers, wire gauges, and lumens. You are not sure whether you need an electrician or whether this is something you can do yourself over a weekend.
Landscape lighting is the use of outdoor illumination for gardens and landscapes (Wikipedia). Low-voltage outdoor lighting systems operate at 12 volts and are safe for DIY installation without an electrician. The system consists of a transformer that plugs into a standard outdoor outlet, low-voltage cable buried in shallow trenches, and light fixtures that connect to the cable with snap-on connectors.
Outdoor lighting how to install for a low-voltage system starts with planning and ends with connecting fixtures. Here is a step-by-step approach for a successful DIY project.
Planning Your Outdoor Lighting Layout
Planning is the most important step in outdoor lighting installation. A well-planned layout ensures the lights are placed where they are needed and that the transformer and cable are sized correctly for the load.
Start by identifying the areas you want to illuminate. Path lighting along walkways and driveways improves safety. Accent lighting on trees, shrubs, and garden features adds drama and extends the use of the yard into the evening. Deck and patio lighting creates a comfortable space for outdoor dining and entertaining. Step lighting on stairs prevents trips and falls.
Measure the total distance from the transformer location to the farthest light fixture. The transformer should be placed near a GFCI-protected outdoor outlet. The distance from the transformer to each light determines the cable run length. Keep the total cable run under 100 feet for 12-gauge wire, or under 150 feet for 10-gauge wire, to prevent voltage drop that causes dim lights at the end of the run.
Calculate the total wattage of all lights on the system. Add up the wattage of each fixture and divide by 12 volts to get the total amps. The transformer should be rated for at least 20 percent more than the total wattage. For example, if the total fixture wattage is 120 watts, use a 150-watt transformer. This headroom prevents the transformer from running at full capacity, which extends its lifespan.
Choosing the Right Low-Voltage Lighting System
The components of a low-voltage outdoor lighting system include the transformer, cable, and fixtures. Choosing the right components for your installation ensures reliable operation and longevity.
| Component | Options | Considerations
|
| Transformer | 150W, 300W, 600W | Size based on total wattage plus 20% headroom |
| Cable | 12-gauge, 10-gauge | 12-gauge for runs under 100 ft; 10-gauge for longer |
| Fixtures | Path lights, spotlights, well lights | Choose fixtures with replaceable bulbs and brass or aluminum construction |
| Bulbs | LED, halogen | LED uses 80% less energy and lasts 10 times longer than halogen |
LED bulbs are the standard choice for outdoor lighting. An LED path light uses 2 to 5 watts compared to 10 to 20 watts for halogen. The lower wattage means smaller transformers and lower energy costs. LED bulbs last 25,000 to 50,000 hours compared to 2,000 to 5,000 hours for halogen. The higher upfront cost of LED fixtures is recovered in energy savings within one to two years.
Fixtures should be made of brass, copper, or aluminum. Plastic fixtures crack and fade within a few years of sun exposure. Metal fixtures last 10 to 20 years and can be repainted if the finish wears. Look for fixtures with removable bulbs so you can replace them when they burn out rather than replacing the entire fixture.
The transformer should have a photocell or timer for automatic operation. A photocell turns the lights on at dusk and off at dawn automatically. A timer allows you to set specific on and off times. Some transformers include both. A transformer with a photocell and timer costs $50 to $150.
Tools and Materials You Will Need
Installing low-voltage outdoor lighting requires basic tools that most homeowners already own. The materials are available at home centers and online lighting retailers.
Tools needed: a shovel or trenching tool for burying the cable, wire strippers, a screwdriver, a utility knife, a tape measure, and a rubber mallet for driving stakes into the ground. A voltage tester is useful for testing connections before burying the cable. A string line helps keep path lights aligned in a straight row.
Materials needed: the transformer, low-voltage landscape lighting cable (12-gauge or 10-gauge), light fixtures, wire connectors (snap-on or waterproof wire nuts), and cable staples or landscape fabric pins to hold the cable in place before burying. Most low-voltage lighting kits include the transformer, lights, and connectors, but buying components separately allows you to customize the system.
A low-voltage lighting kit for a small yard with four to six lights costs $100 to $300. A custom system for a larger yard with 10 to 15 lights using brass fixtures costs $500 to $2,000. The DIY installation saves the $300 to $800 labor cost that an electrician or landscape lighting professional would charge.
How to Install Low-Voltage Outdoor Lighting Step by Step
Follow these steps for outdoor lighting how to install a low-voltage system. The process takes a weekend for a typical yard and requires no special skills beyond basic tool use.
Step 1: Install the transformer. Mount the transformer on a wall near the GFCI outlet using the mounting bracket provided. The transformer should be at least 12 inches above ground level to keep it away from snow and debris. Plug the transformer into the outlet but leave it turned off until all connections are made.
Step 2: Lay out the cable. Run the cable from the transformer to the first light fixture location, then from fixture to fixture in a daisy-chain configuration. Leave six to twelve inches of extra cable at each fixture location for connections. Lay the cable on the ground in its planned path and hold it in place with landscape fabric pins or cable staples.
Step 3: Connect the fixtures. For each fixture, strip the insulation from the cable at the connection point using wire strippers. Attach the fixture wires to the main cable using the snap-on connectors or waterproof wire nuts provided with the kit. Snap-on connectors pierce the cable insulation and make contact with the wires inside. Ensure the connection is tight and waterproof.
Step 4: Bury the cable. Dig a trench three to four inches deep along the cable path using a flat shovel or trenching tool. Place the cable in the trench and cover it with soil. Trenching is the most time-consuming part of the installation but protects the cable from damage and keeps the yard looking clean.
Step 5: Install the fixtures. Place each fixture at its planned location. Path lights are pushed into the ground on their stakes. Spotlights and well lights are positioned and adjusted to aim at the target. Make sure all fixtures are level and stable before backfilling around them.
Step 6: Test and adjust. Turn on the transformer and check that all lights are working. Adjust the aim of spotlights and the spacing of path lights as needed. Set the timer or photocell for automatic operation. Bury any exposed cable and tamp down the soil.
A landscape lighting installer with 12 years of experience advised: “The biggest mistake DIY installers make is not planning for voltage drop. They buy a kit and run the cable 150 feet to the last light, and that light is dim while the first one is bright.”
Installing Solar Outdoor Lighting
Solar outdoor lighting is an alternative to low-voltage systems that requires no wiring or transformer. Solar lights have a small photovoltaic panel on top that charges a battery during the day and powers the light at night.
Solar lights are the easiest outdoor lighting to install — simply place them in the ground or mount them on a wall where they receive direct sunlight during the day. No tools or wiring are needed. Solar lights cost $10 to $50 each and are available in path light, spotlight, and string light styles.
The main limitation of solar lights is the amount of sunlight they receive. A solar light placed in full sun charges fully and provides six to eight hours of light at night. A solar light in partial shade provides three to four hours. A solar light in full shade does not charge enough to operate at night and will not work reliably.
Solar lights are best for areas where running low-voltage cable is impractical — remote garden areas, fence lines, and areas far from the house where the transformer cannot reach. For consistent, bright illumination near the house, low-voltage lighting is the better choice.
Common Outdoor Lighting Installation Mistakes
Avoiding common mistakes is as important as following the correct installation steps. The most frequent errors reduce the performance and lifespan of the system.
Undersizing the transformer is the most common mistake. Homeowners add extra lights to the system without checking whether the transformer can handle the additional wattage. An overloaded transformer runs hot, trips the circuit breaker, or fails prematurely. Always verify the total wattage before adding lights to an existing system.
Not accounting for voltage drop is the second most common mistake. Voltage drop causes lights at the end of the cable run to be dimmer than lights near the transformer. Using 10-gauge wire for long runs, keeping the total run under 150 feet, and placing the transformer in the center of the layout rather than at one end minimizes voltage drop.
Burying cable too shallow or too deep is another mistake. Cable buried less than three inches deep can be damaged by garden tools and foot traffic. Cable buried more than six inches deep is difficult to access if repairs are needed. Three to four inches is the ideal depth for low-voltage landscape lighting cable.
Using non-waterproof connections is a common error that leads to intermittent operation and corrosion. All connections — at the transformer, between cable sections, and at the fixtures — must be waterproof. Silicone-filled wire nuts and heat-shrink tubing provide weatherproof connections that last for years underground.
Frequently Asked Questions
Do I need an electrician to install outdoor lighting?
Low-voltage outdoor lighting is safe for DIY installation. No electrician is needed for 12-volt systems. Line-voltage (120-volt) lighting requires a licensed electrician for code compliance.
How deep should I bury low-voltage lighting cable?
Bury the cable 3 to 4 inches deep. This depth protects it from garden tools and foot traffic while keeping it accessible for repairs. No conduit is required for low-voltage cable.
What type of bulb is best for outdoor lighting?
LED bulbs are best for outdoor lighting. They use 80 percent less energy than halogen, last 25,000 to 50,000 hours, and are available in warm color temperatures that look natural in a garden setting.
How many lights can I put on a low-voltage transformer?
Add all light wattages and divide by 12 to get amps. The transformer needs 20 percent more capacity than the total. A 150-watt transformer handles up to 150 watts.
Are solar lights better than low-voltage outdoor lights?
Solar lights are easier to install. Low-voltage lights are brighter and more reliable. Low-voltage is better for consistent illumination near the house.
How do I fix dim lights at the end of a low-voltage run?
Use 10-gauge wire for runs over 100 feet. Keep total run under 150 feet. Place the transformer in the middle of the layout to reduce voltage drop.
Where should I mount the outdoor lighting transformer?
Mount the transformer on an exterior wall near a GFCI outlet. Keep it at least 12 inches above ground. Do not enclose it in a box that traps heat.
How long should outdoor lighting fixtures last?
Quality brass or aluminum fixtures last 10 to 20 years. Plastic fixtures last 2 to 5 years. LED bulbs last 10 to 20 years. Transformers last 10 to 15 years with proper sizing and ventilation.